Construction & Building Solutions
Best Flat Roof System UK: What to Look For (and Why GRP Leads the Way)
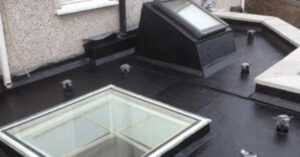
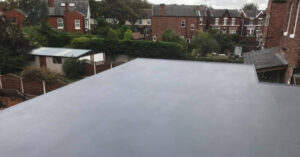
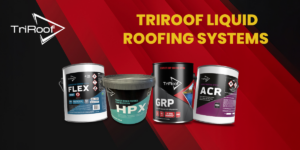
Looking for the best flat roof system in the UK? This guide compares popular roofing options—including felt, EPDM, and liquid coatings—and explains why GRP fibreglass roofing stands out for durability, seamless waterproofing, and long-term performance. Discover how the TriRoof range