Identify the Damage:
Before beginning any repair, it’s important to thoroughly inspect the damaged area to understand the extent of the issue. Specifically, look for cracks, holes, delamination, or other signs of wear. By doing so, you’ll be able to determine the materials and tools needed for the repair more accurately.
Gather the Right Materials:
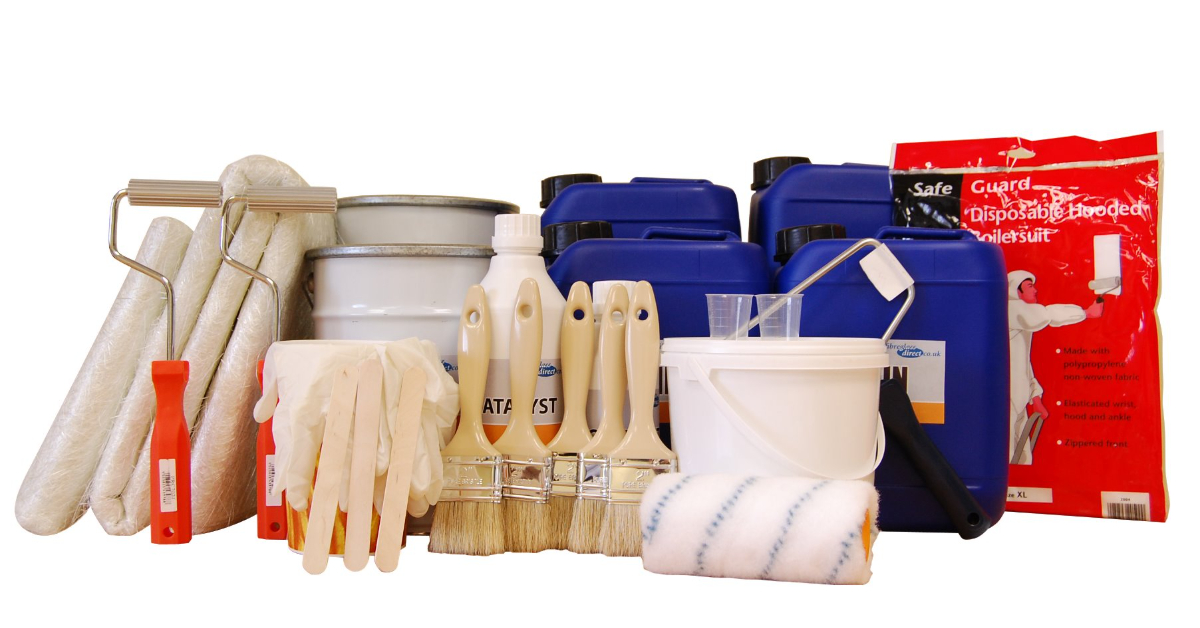
Before starting your repair, make sure you have all the necessary materials on hand. Typically, these include fibreglass cloth or mat, resin, hardener, sandpaper, acetone, a mixing container, and a brush or roller. By preparing everything in advance, you’ll ensure the repair process goes more smoothly and efficiently.
Prepare the Surface:
To begin, clean the damaged area with acetone to remove dirt, grease, and wax. Next, sand the surface around the damage to create a rough texture, which helps the new fibreglass adhere better. Finally, wipe away any dust or debris left behind after sanding to ensure a clean working surface.
Cut the Fibreglass Patch:
To start, cut a piece of fibreglass cloth or mat slightly larger than the damaged area. Then, cut multiple additional pieces, each slightly larger than the last, to create a layered effect for more extensive repairs. Ultimately, this approach ensures a stronger and more durable repair.
Mix the Resin and Hardener:
First, follow the manufacturer’s instructions to mix the resin and hardener. Accurate mixing is crucial, as incorrect ratios can lead to weak repairs. Additionally, mix only the amount you can use within the resin’s working time, as it will begin to harden quickly.
Apply the Fibreglass Patch:
Begin by brushing a layer of mixed resin over the sanded area. Next, place the first layer of fibreglass cloth onto the resin, then saturate it with more resin using a brush or roller. Continue this process with additional layers, ensuring that each one is fully saturated with resin for a strong, cohesive bond.
Remove Air Bubbles:
Since air bubbles can weaken the repair, it’s essential to remove them promptly. To do this, use a fibreglass roller to work out the bubbles from the centre toward the edges. Alternatively, if you don’t have a roller, a brush can also be used—though it requires more attention to detail to achieve the same result.
Allow Proper Curing Time:
Once all layers are applied, allow the fibreglass to cure fully according to the resin manufacturer’s instructions. Keep in mind that curing time can vary depending on the type of resin and environmental conditions, such as temperature and humidity. Therefore, it’s important to avoid disturbing the repair area during this period to ensure optimal results.
Sand the Repaired Area:
After the fibreglass has fully cured, begin sanding the repaired area to smooth out any rough edges or uneven surfaces. Initially, use a coarse grit sandpaper, then gradually switch to a finer grit to achieve a smooth finish. Ultimately, this will help the repaired area blend seamlessly with the surrounding surface.
Finish with a Protective Coating:
To finish the repair, apply a gel coat or paint to the area for a polished look and added protection. Not only does this step enhance the appearance, but it also provides a barrier against UV rays and environmental elements. For best results, be sure to follow the manufacturer’s instructions carefully.


