Composites & Materials
How to Choose the Right Grade of Coosa Board for Your Project
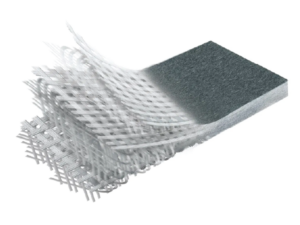
A practical guide to choosing the correct Coosa® Board grade for marine and structural applications.
We value your privacy
Cookies are small text files stored on your computer by websites you visit. They help users navigate websites efficiently and enable certain essential functions.
Cookies necessary for the website to function properly can be set without your consent, while all other cookies require your approval before being used in your browser.
Additionally, we use cookies to gather data for personalizing and evaluating the effectiveness of our advertising.
For more information, please refer to the Google Privacy Policy.
You can find the list of all the cookies that we use on our website here Cookie Declaration Page.


A practical guide to choosing the correct Coosa® Board grade for marine and structural applications.

Not every flat roof refurbishment solution suits every project. This practical guide explains when TriRoof HPX is the right choice, exploring ideal use‑cases, stakeholder benefits and key considerations to help specifiers, contractors and asset owners make confident, informed decisions.

A comparison of Coosa® Board and timber core materials, focusing on lifespan, durability, and total cost over time.

When a flat roof reaches the end of its service life, full replacement is often assumed to be the only option. This article compares liquid‑applied roofing overlays with traditional strip‑and‑replace methods, examining cost, disruption, sustainability and long‑term performance to help