Gelcoat Repair

Gelcoat Repair

Gelcoat repair is inevitable for the vast majority of boats after a sustained period of time on the sea. People commonly perform gelcoat repairs to fix spider web cracks or areas where erosion has exposed the base laminate.

The good news is, the vast majority of gelcoat repairs are easy to undertake and will save you lots of money by repairing them yourself.

Prepping the Damaged Area for Gelcoat Repair

To ensure a successful repair the area must be prepped accordingly.

The first step is to chip or grind down any damaged material and finish feathering the edges with a course sandpaper such as 240-grit. This will give the new layer of gelcoat a suitable are to bond with. Care should be taken to not sand down too far and reach the glass.

Once the area has been sanded down, it should be wiped with Acetone to remove any contamination

Gelcoat Application

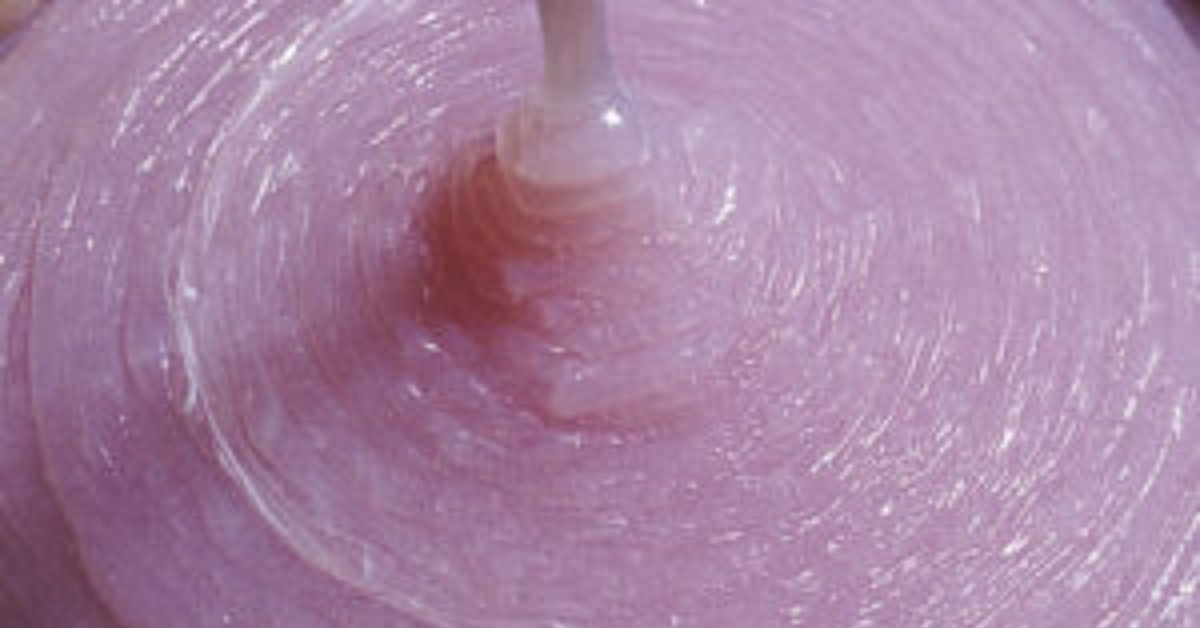
Tricel Composites supplies six standard gelcoat colours: White, Black, Dove Grey, Dark Olive, Bright Blue, and Clear. You can pigment clear gelcoat if needed. To match the rest of the boat exactly, mix one or more pigments as required. Mix the gelcoat with 2% catalyst at average room temperature to get a working time of about 20 minutes. In colder conditions, increase the catalyst slightly, but don’t exceed 3%. In warmer conditions, reduce the catalyst to slow curing, but keep it above 1.5%. If the gelcoat cures too quickly, it can trap air bubbles that will show during sanding.

Depending on the repair depth, apply the first layer with a brush. For very shallow repairs, use a matchstick to apply the gelcoat thick enough to cover the damage and overlap the masking tape. Remove the tape before the gelcoat fully cures to leave a clean edge without disturbing the new layer. After applying the gelcoat, cover the repair with sandpaper, making sure no air gets trapped. This step helps reduce sanding once the repair dries.

If you need two layers, sand the first one after it cures to ensure the second coat adheres properly.

Finishing Touches to Gelcoat Repair

Once the gelcoat fully cures, sand the area using wet and dry sandpaper. Wet sanding helps reduce sanding time and prevents the sandpaper from clogging. Start with coarse sandpaper, such as 240 grit, and gradually move up to 1000 grit. Sand the area until it becomes flush with the surrounding surface, blending the edges smoothly and finishing with the 1000 grit paper.

To restore shine and remove fine scratches, use a handheld motorised polisher with a lamb’s wool pad. Farecla compounding pastes work especially well for polishing and enhancing the finish.

Read More...